Journal
Making coffee with the Sage Barista Touch
Clair recently brought her fancy coffee machine home from work. It’s a Sage Barista Touch. Since then, I’ve been learning what’s involved in making a coffee by grinding fresh from whole beans, barista-style!
It’s more complicated than I would have thought, and has involved lots of learning and trial and error.
Here are my go-to resources and my rules-of-thumb. I’m not saying they’re perfect, but they’re working for me! Any additional tips from people more in the know are, of course, very welcome.
Dialling in: my rule of thumb
Overall I want:
- a good taste, as a result of
- a grind of 18-19g, and
- a pull where liquid flows from 7 seconds or more, and
- a conventional yield such as a 2oz double-espresso.
Once you’ve achieved the above from a process of trial and error, dial in the settings (grind, dose) and log any additional notes so that you can easily repeat the same process achieving the same results.
How it works in practice
If I buy a new bag of coffee beans for a coffee I’m trying for the first time, here’s how I’d set about dialling in.
Note: before you start, you want your coffee’s roast date to be no more than 3 weeks ago and you’ll need coffee scales and one or two espresso shot glasses with measuring lines.
Fill up the tank with fresh water. Use the hot water feature to pour out some hot water into your mug to warm everything up.
Start with a grind size of 12 and a grind time of 20 seconds (they’re sensible middling starting points).
Place your portafilter with funnel attached on your scales (turned off) then turn on the scales so that they’re zeroed appropriately.
Remove the portafilter and grind out coffee based on the previously set grind time. Use the scales to check how much you’ve ground. Remove some, or grind and add more, til you have 18g. Jot down how much time it takes to grind 18g.
Settle, level (roughly) and tamp the coffee in the basket.
Remove the funnel then screw the portafilter in so that it’s ready to brew.
Place your espresso measuring mug under the portafilter, ready to receive brewed coffee.
Start brewing and note the point when liquid starts flowing. If it starts flowing before seven seconds, set the grind size finer. Get this aspect locked down first.
Once we’ve achieved a good begin-flow point and a steady flow, I want to identify the number of seconds it takes to achieve my target yield – meaning the time at which the crema hits the 2oz double espresso line.
Once you’ve hit your yield, and so long as the time was between 25-35 seconds, taste it. If you like it you could dial in that brew time and stop there. If it’s at say 28+ seconds (indicating that the water’s taking a long time to make its way though the coffee) I might also try increasing the grind size by one (larger grind = less dense = water gets through faster) and seeing if I can achieve the target yield within a few less seconds.
Another little tweak I sometimes make to achieve the balance of begin-flow-time, steady flow and yield is to slightly increase or reduce the amount of coffee. For example adding a few milligrams (a dose of 18.5g versus 18g) might start the flow just a little later, when that’s what you need.
If you tried different settings, compare the taste in separate shot glasses. Go with the one you like! Dial in (save/overwrite) your grind size, grind time and brew time. I’ve noticed that the grind size can move a bit of its own accord between uses, so noting the settings for this coffee down somewhere is a good idea too.
Now that you have a good shot of espresso, you could make (for example) a flat white… or add water and a drop of milk for an americano… or just have the espresso itself if you’re feeling Italian.
Resources
Lighter meditteranean veg lasagne recipe, by Gousto
This lasagne was meat-free, fun to cook, easy on the eye and tasted great.
I’ve just read Join the Future, by Matt Anniss
It’s important to set the record straight. Normally when people talk about the early UK scene the same few things get mentioned. The real underground never gets talked about."
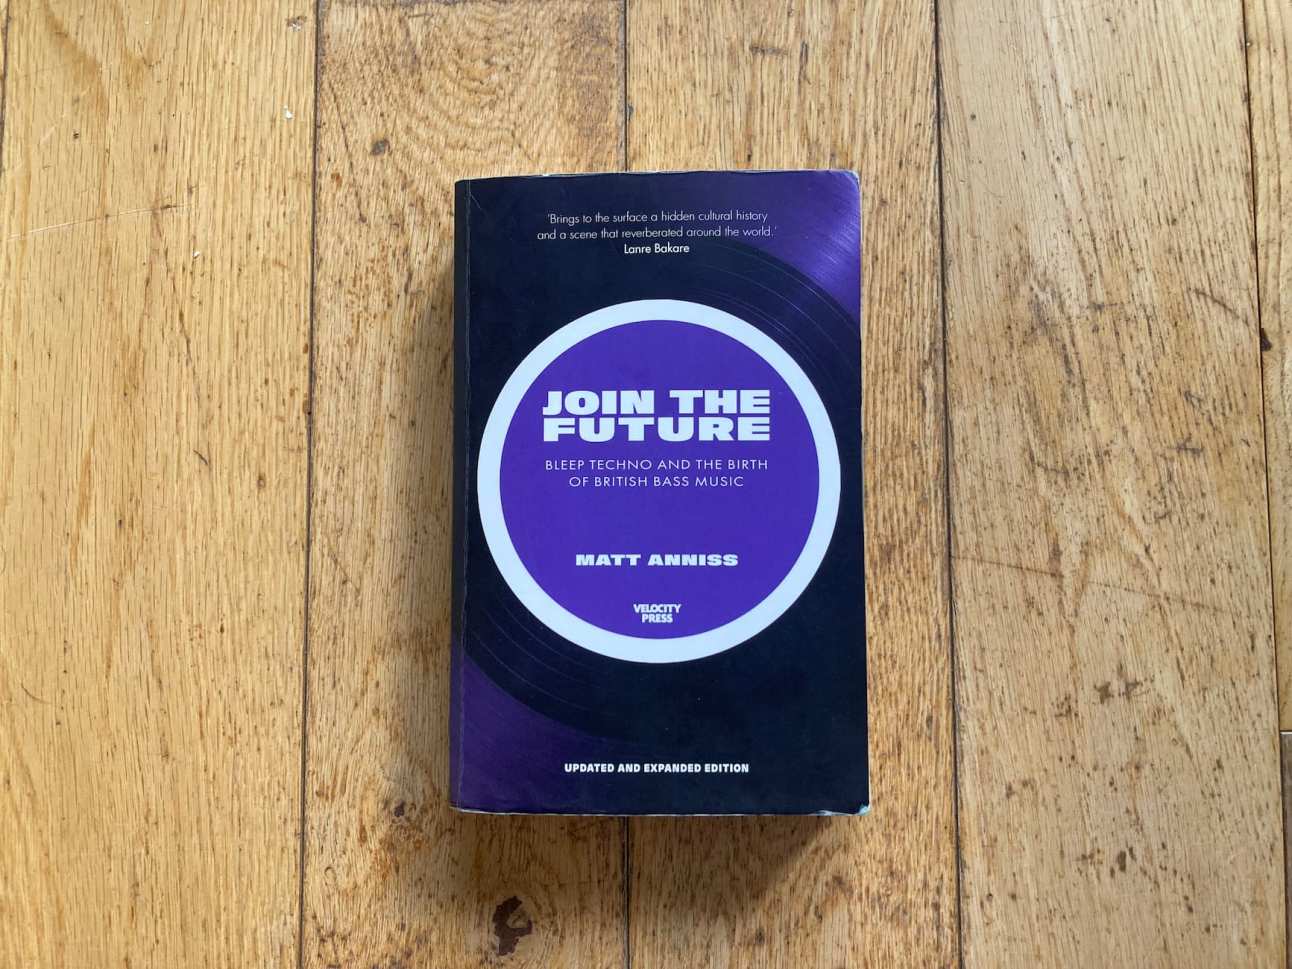
I loved this! It tells the stories behind many of the lesser-reported UK scenes and record labels. And it really helped to join a lot of musical dots for me, covering music I first heard on cassettes as a teenager thirty years ago. (That includes fairly obscure labels such as Chill – that brilliant quote about “setting the record straight” was from their A+R man Tim Raidl).
I also loved Matt’s passion for telling the stories of these people and communities.
Highly recommended.
Banksy’s Cut and Run exhibition
Clair and I, along with our pal Fiona, just went to see Banksy’s Cut and run exhibition at the GOMA in Glasgow. I loved it!
Banksy describes it as follows:
I’ve kept these stencils hidden away for years, mindful they could be used as evidence in a charge of criminal damage. But that moment seems to have passed, so now I’m exhibiting them in a gallery as works of art. I’m not sure which is the greater crime.
He mentions that one of the main reasons he chose Glasgow’s GOMA is because the ever-present cone on the head of the Duke of Wellington statue outside is his favourite work of art in the UK.
…the statue out the front has had a cone on its head continuously for the past 40 odd years. Despite the best efforts of the council and the police, every time one is removed another takes its place."
I really enjoyed the way the exhibition was arranged and presented with the various use of corridors, rooms, concourses and other objects such as elevators and phone booths.
I liked Banky self-effacing introduction saying that really he was cheating and gets (steals) all his inspiration from others, or real artists.
I loved where he talked about the light-switch moment about not needing to add a background but rather to make the real-life location the background, and how that then fires the imagination with the challenge “How much of the environment can you integrate into the piece?”. How much space could there be between the girl and the balloon?
Lastly, the final area is a treat. It simulates Banksy’s bedroom growing up and the music, art and films which influenced him. There’s a great description of how the graffitied sign in Jaws – where a sign presenting Amity Island as a paradise is doctored with a shark fin and “Help!” speech bubble – was an early example of art that really spoke to him. In this graffiti he saw a wonderful combination of satire, powerless people finding a way to make their voice heard, humour, art and rebellion.
How I use github.com as my JAMstack CMS
Here are my quick links and tips for creating a markdown-file-based blog post using only github.com and no CMS. I’ve put these on this site so that they’re on the web therefore I can access them wherever I am.
Why do I create posts this way? Because I’ve tried forestry.io (now Tina) and Netlify CMS and I no longer have the time or inclination to maintain their dependencies, load their JavaScript or make ongoing updates as they evolve. I’ve also found them a little flaky. So instead let’s see how this lo-fi approach works.
This post is mainly for my own reference but who knows, maybe it’ll be useful to someone else too.
Step 1:
Create a new markdown file in my posts directory
Step 2: use one of these previous posts as a template (use the “copy raw file” icon-button then paste into my new markdown file):
- Standard blog entry
- Bookmark
- Short note
- Note with photo
- Book I’ve started reading
- Film I just watched
- (Video of) record I bought/love
- Mix I’ve just recorded
Useful references
- grab current datetime in right format (see the Date/time field under Convert from strings)
- All of my tags
- Images: how I optimise, host, and code for performance and responsiveness
- Set frontmatter date to
Created
Other notes
Reminder to self: create a bookmark for this post on all my devices. Name it “Nu Gh post”.
Secrets To Block Like a Pro Tutorial A-Z
In this tutorial video Seth Pech shares what he’s learned about that most foundational (and important) of table-tennis shots – the block.
Fundamentals:
- keep the racket in front rather than blocking on the side of your body. You can see it better and transition faster
- for the basic block just use the opponent’s energy – don’t add anything
- for backhand, block in your normal backhand posture (rather than a lollipop, or poking) to aid transitioning to attack
- don’t bend your wrist back lots – it’s painful. Bend it back just a little.
- timing: catch it on rise or at top of the bounce, rather than just off the bounce
- against a heavy-spin loop, let the ball come to you and push down on it. Don’t move into it
Backhand punch block:
- have a relaxed wrist
- small backswing – imagine your hand hitting a sheet of paper and getting a nice “smack” on it for a “pop” sound
- catch ball at the top of the bounce. Going early makes it hard to get over the net.
- ascend very slightly through shot for a tiny bit of topspin (but tiny, as it’s still a punch)
Super-reliable forehand loop technique
Nice video here from Tom Lodziak in which coach Emma Harradine demonstrates a forehand loop (against backspin) that just looks so spinny, safe and reliable.
I’ve always liked the idea of this shot – the archetypal third ball in the rally – being like a well-oiled machine, but have never quite nailed it. So I’m gonna study this!
The key points are:
- Drop the right knee and put weight on right foot
- Rotate hips and upper body so that non-playing shoulder, elbow face table and non-playing upper-arm is horizontal like table surface
- Drop bat below height of the ball
- Brush the ball
- Contact ball at top of its bounce – don’t let it drop
- Rotate hips, upper-body
- The key is consistency and spin. This shot is a set-up not a winner
- Next shot can be more direct and faster, but don’t blast it either – there’s no need. Going for position is really effective.
The New CSS (by Mattias Ott)
Matthias feels that the recent slew of additions to CSS have completely changed the game.
this time, something feels different… the changes coming to CSS are so fundamental on so many levels that it almost feels like a singularity. There is now the CSS before and the CSS after the early 2020s.
Want to emulate and confidently design a layout that leverages the potential of CSS Grid in any of the major design tools like Figma, Adobe XD, or Sketch? Not possible. Want to define a color in one of the wide gamut color spaces like OKLCH, which result in more vibrant and natural colors on modern screens, maybe by using a color picker? Not possible. You want to simulate fluid typography that dynamically scales font sizes based on the viewport or container size and also define minimum and maximum values like you can do it in CSS with clamp()? Not possible. Or how about defining a fallback font in case your web font doesn’t load? Good luck using any screen design tool on the market. Not only are all of those things – very clearly – important design decisions, but they are also easily possible with just a few lines of CSS. In this new era of CSS, the design tools are now the limiting factor.
He also hopes and suggests that CSS might become more respected and teams might “shift left” with regard to prototyping in the browser.
What I expect to see overall is that the perception and thus the role of CSS in the design process will change from being mainly a presentational styling tool at the end of the waterfall to a tool that is being used at the heart of making design decisions early on. The value of a designer who knows how to prototype and build web components with modern CSS will therefore increase a lot. As a design engineering freelancer, I’m noticing this already.
Brothy fragrant chicken thigh and spinach noodle soup
A tasty and healthy asian-style recipe from Gousto, which I enjoyed cooking and eating and would like to make again.
Ingredients (for two people)
- Diced chicken thigh (250g)
- Dried chilli flakes (0.5 tbsp)
- Fine egg noodle nests (2)
- Ginger and garilc paste (15g)
- Pho broth base (25g)
- Soy sauce (8ml)
- Spinach (80g)
- Toasted sesame oil (10ml)
- Vegetable oil
Instructions
Take chicken out of fridge, open the packet and let it air.
Boil a full kettle.
Heat a large, wide-based pan with a drizzle of veg oil over a high heat.
Once hot add your diced chicken thigh with your soy sauce and cook for an initial 5-6 min or until beginning to brown.
Was your spinach and pat it dry with kitchen paper.
Dissolve your pho broth paste in 600ml boiled water – this is your stock.
Reboil a kettle.
Add your fine egg noodles to a large bowl, cover them with boiled water and stir for 10 secs to separate the noodles. Set aside to soak for 4 min.
Once te chicken as ad an initial 5-6 min, add your ginger and garilc paste and half your chilli flakes and cook for a further 2-3 min or until fragrant.
Once fragrant add the stock to the pan with the chicken and bring to the boil over a high heat.
Once boiling, reduce the heat to medium and cook for a final 3 min or until the chicken is cooked through (no pink meat!).
Add the spinach to the pan and mix everything together until the spinach has slightly wilted – this is your fragrant chicken thigh and spinach broth.
Drain the soaked noodles.
Add the drained noodles to a bowl and pour in the fragrant chicken thigh and spinach broth.
Drizzle over your toasted sesame oil and sprinkle over the remaining chilli flakes.
Enjoy!
Accessibility Personas
This interesting website from the GDS accessibility team sets out seven personas, each with different access needs.
You can use these profiles to experience the web from the perspective of the personas and gain more understanding of accessibility issues.
The site explains how to set up a device or browser to give each persona its own profile simulating the persona’s condition(s) and runs the assistive technology they use to help them.